I’ve found that buying an eSIM while traveling has been an easy and inexpensive way to get phone service while traveling.
I’ve found and used two providers, Airalo (I used in Asia) and Ubigi (I used in Europe). Both require making an account, which is little more than entering an email address and password. And both should be easy enough to find in your device’s App Store.
When you open Airalo, you are greeted by a list of countries:
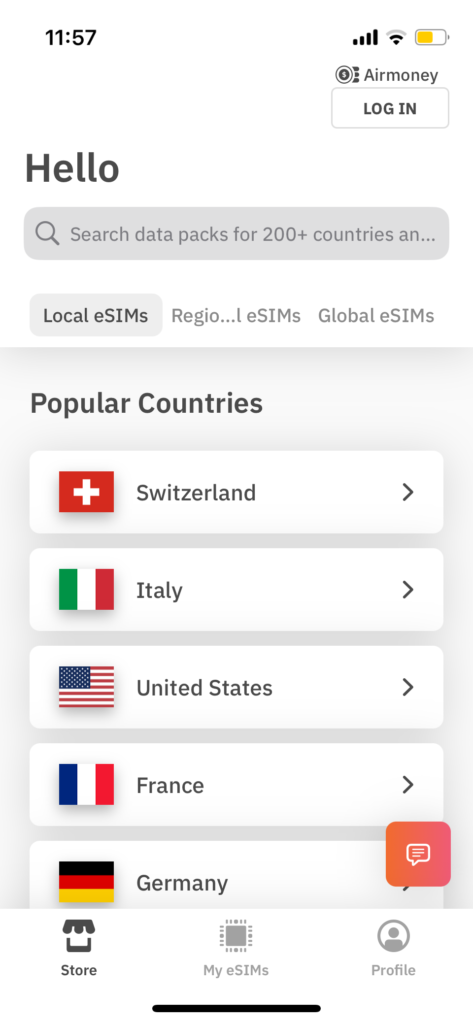
To buy an eSIM, it’s as easy and choosing a country. I’ve chosen Croatia:
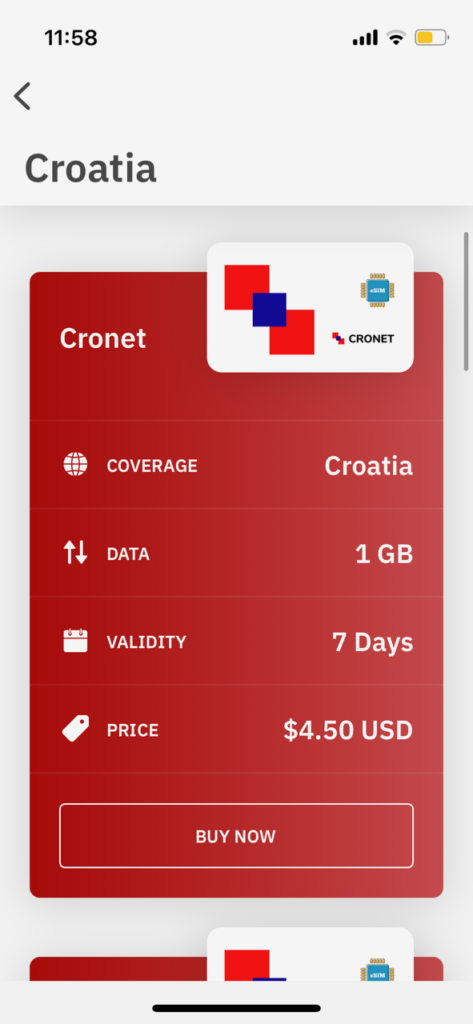
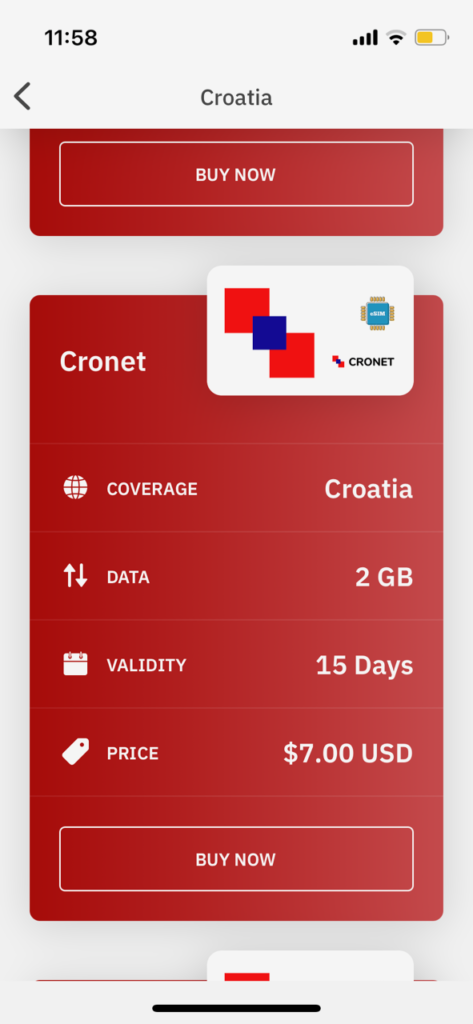
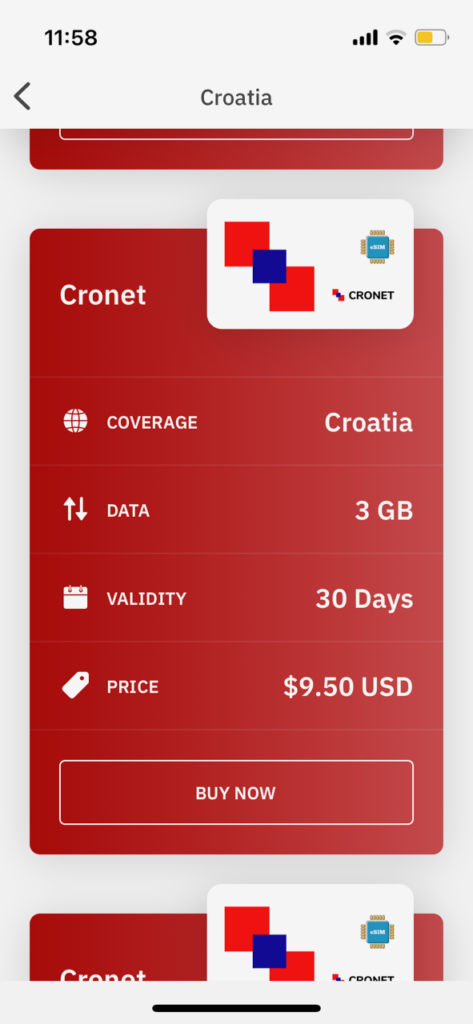
The first three listed options show us different capacities and duration. It’s a little cheaper to buy a larger plan than to run out and have to buy a second plan. After clicking buy you’ll be taken to a payment page (or a sign up page if you arent logged in).
Ubigi is pretty similar:
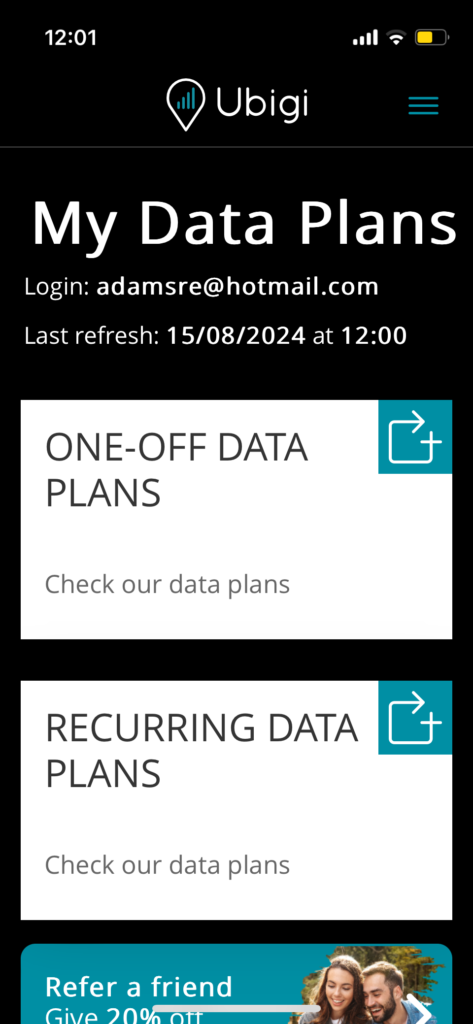
The first page offers one-off plans which is what I’d be interested in while traveling. After clicking that, it opens a country list:
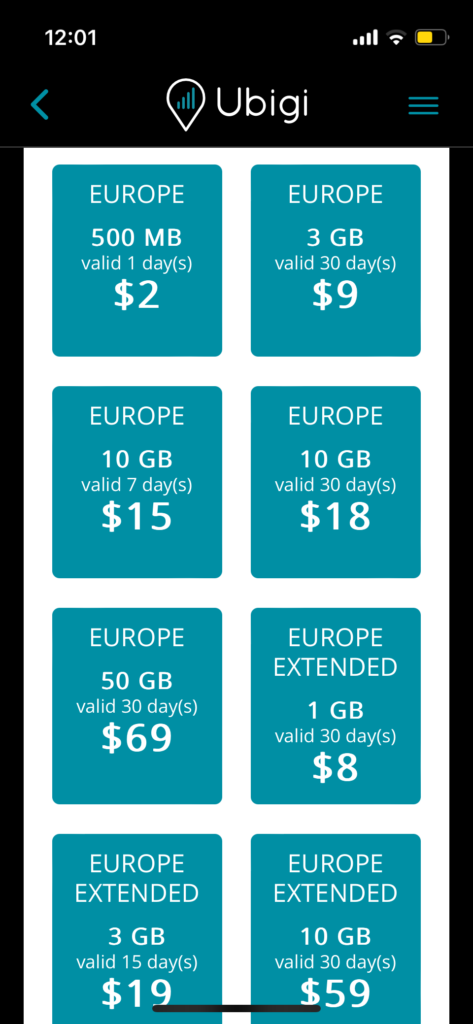
After choosing a region/data capacity it will bring up a page showing a full list of the countries participating in that plan:

Clicking checkout brings you to a payment page if you’re already logged in.
Now you have the eSIM and need to select it in your phone and deselect your home country eSIM so you cont get charged roaming fees. Open ‘Settings’ to find:

You want to choose Mobile Service here.
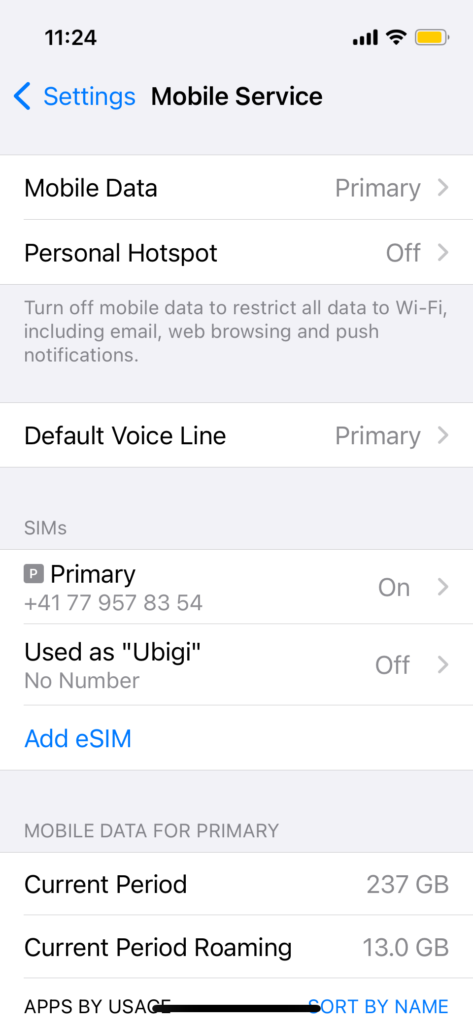
In the Mobile Service page you’ll want to turn on the new eSIM (here mine says Used as “Ubigi”) or Add eSIM if it isn’t listed. I would also turn off my primary SIM by clicking it and turning it off on the next page. Also on the Mobile Service page you can choose the eSIM for your Mobile Data by clicking ‘Mobile Data’